Forums > Project Diaries
DianeH Community Member

Making the Alex Coat by Atelier Jupe

I thought I would document my Alex Coat here, which I am hoping to get done by Christmas! Wish me luck on that!!

Firstly, I made the lining to test the fit. This was a technique I picked up when making another coat last year, and it seemed to work well with that coat. This one is not so obvious as the front facing is a little wider, thereby making the lining narrower. I did make a muslin earlier in the year, though, which was a little big on the bust and shoulders, so I have graded this one from a smaller size at the bust and waist and out to the original size at the hips. Hopefully this will work!

I am also fully interfacing all pieces, as indicated in the pattern, and I have block fused them, which seems to have taken a lifetime, making sure all pieces are well attached. Now I just need to cut out the actual pattern pieces.

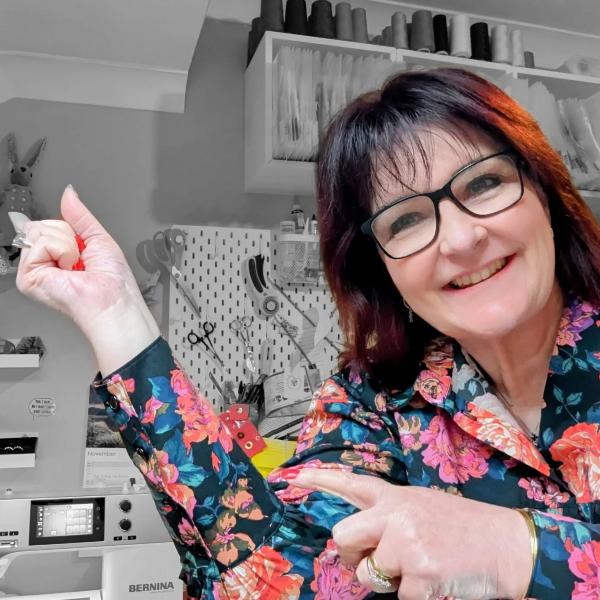
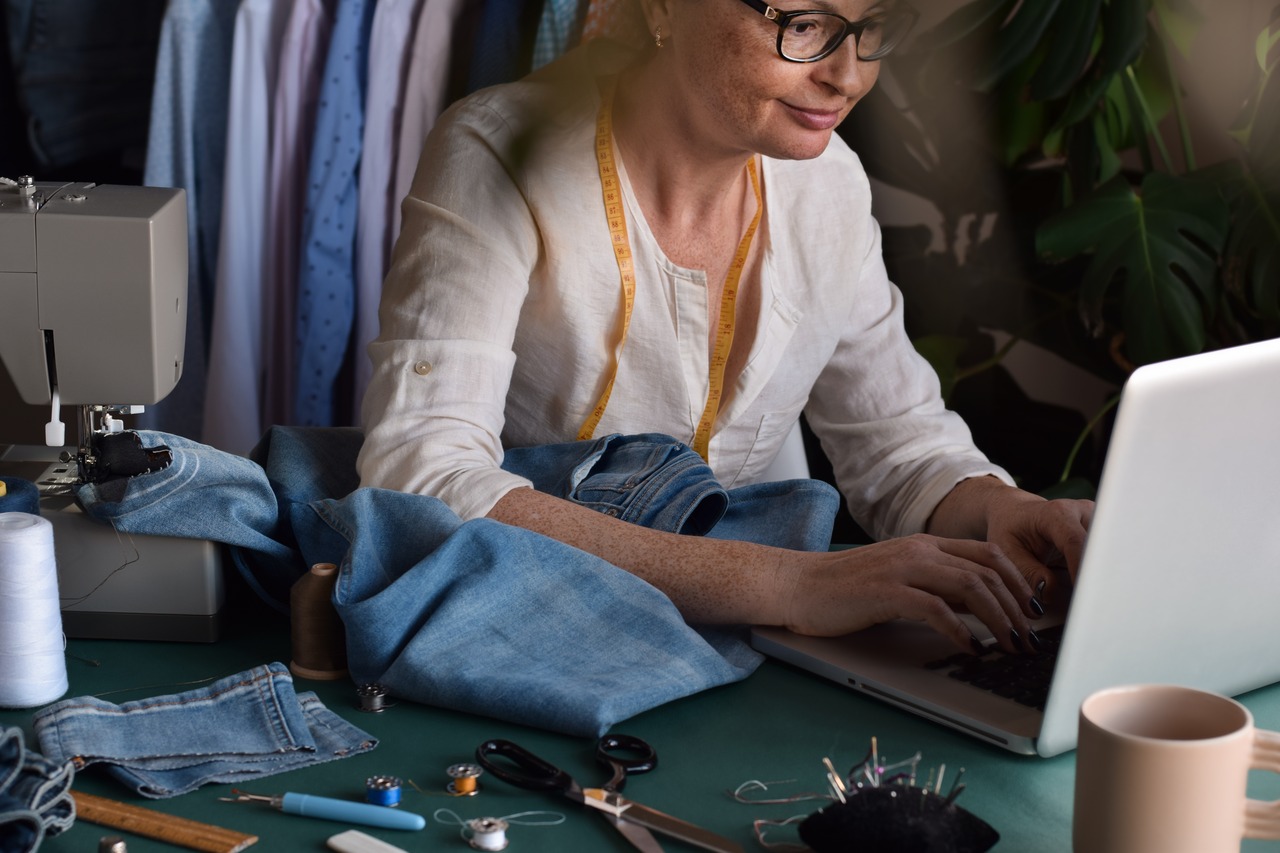
Here are a few images of the progress so far.


upload-3298-1765814874-XwHmdEkSDO.jpeg
upload-3298-1765814874-2sgF7y0q89.jpeg
upload-3298-1765814910-hTVkOHAy1K.jpeg
upload-3298-1765814911-MQ08xCyzuG.jpeg
· 1 month ago
You must have an account to comment or reply on threads - please log in or join the community.
Sort replies by:
SewHayleyJane's avatar
SewHayleyJane Admin

Oooh wow I'm so excited to see this come together Diane. Is this the one you showed us the toile of in the socials that was too big? What is the main fabric?

· 1 month ago
DianeH's avatar
DianeH Community Member

Yes, that was the toile in the check fabric I showed at the social. The main fabric on this one is 100% wool from Fabworks. It was a special offer with the lining free. Better image of the main fabric. 

upload-3298-1765821808-rOaDkyp5kP.jpeg
· 1 month ago
SewHayleyJane's avatar
SewHayleyJane Admin

Ooh lovely - amazing offer as well! 

· 1 month ago
DianeH's avatar
DianeH Community Member

Here are some more progress photos. The interfaced pieces are now all prepared and cut out and some assembly has been taking place - albeit slowly, as I am trying to film the process as I go for my YT channel.

Front panel assembled and back vent made, then back and fronts joined together. The lining is not yet attached, the outer is just draped over it on the hanger.

upload-3298-1766324389-BQau9Ry3cl.jpeg
upload-3298-1766324291-Xj8KmVhf77.jpeg
upload-3298-1766324292-XSqdvytpA6.jpeg
upload-3298-1766324292-OTosjrRxIk.jpeg
· 1 month ago
SewHayleyJane's avatar
SewHayleyJane Admin

This is looking really lovely Diane, the back vent is often quite a fiddly thing to do but it's looking great, how have the instructions been?

· 1 month ago
DianeH's avatar
DianeH Community Member

Thank you Hayley. On the whole the instructions are ok but some of the instructions leave a lot to be desired! There is also a blog post with photos but that is a bit vague in places. The also have a short video on the vent, which is quite useful. I am glad I have made coats before otherwise it would be a head-scratcher in places - especially how to join the sleeve and sleeve lining at the hem.

· 1 month ago
DianeH's avatar
DianeH Community Member

So, I have been making progress and forgetting to post! Plus I have had to take stills from my videos as I also forgot to take photos. Doh!

So this section is the upper and under collar, and attaching the lining to the front facing.

The under collar is on the bias and is not interfaced, and is cut slightly smaller than the upper collar to make the upper collar sit better.

I added a hanging chain, which is just a section of some long length of chain I had that is meant to be for adding weight to curtain hems! The fabric loop I made was a bit too thick and this was the only thing I had to hand.

upload-3298-1766920956-fjjYRmGHV6.jpeg
upload-3298-1766920956-Wfjj3pCeTV.jpeg
upload-3298-1766920956-aKiSRKwebM.jpeg
upload-3298-1766920957-RWs2kesLzJ.jpeg
upload-3298-1766920957-p6END1cP97.jpeg
· 1 month ago
LaTrica's avatar
LaTrica

It looks really good.  Do you stitch the upper and under collars together at the neckline?  A lot of my patterns recommend it but I have trouble getting the handstitching correct for it.

· 1 month ago
DianeH's avatar
DianeH Community Member

Thank you. I do stitch the collars together at the neck seam. I have had a coat pattern that did not include that in the instructions but I did it anyway as otherwise the two sides would come apart as you are wearing the coat, and when you try and hang it up. I stitch it on the sewing machine, not hand stitch. This pattern says to handstitch from the outside along the seam (in the ditch) and it is one of the final steps, but I connected the two sides on the sewing machine on this stage pictured above, before attaching the lining. I just connected the seams and stitched from shoulder seam to shoulder seam. I don't think hand stitching would be strong enough.

· 1 month ago
DianeH's avatar
DianeH Community Member

I did encounter a problem with the sleeve head with this creasing at the top. The pattern says not to interface the very top of the sleeve curve, as it is supposed to hang better, according to their FB page when I queried it. So I removed the top 1cm and wished I had left it in. I'm not sure if that caused this issue, but my workaround was a sleeve head support. I found this technique on YouTube.

I made a template from the sleeve pattern piece, then cut out the shape using some leftover fusible fleece I had from a pouch kit, but didn't fuse it on, to support the sleeve seam. I didn't want shoulder pads in, and they don't include them in the pattern anyway. So here is the before, the technique, and the after of inserting the sleeve support. You just sew it on in the same way as the sleeve cap, stitching just inside the original seam and it is loose at the bottom end, but is firm enough to hold the outer fabric out. The other suggestion was self fabric, but I thought the fleece would work better.

upload-3298-1767080133-vesUvpYJnc.jpeg
upload-3298-1767080133-DHnkDYwTAZ.jpeg
upload-3298-1767080133-TZZPsjadjm.jpeg
upload-3298-1767080133-HQJtFR9Dv4.jpeg
· 1 month ago
Kim's avatar
Kim

That's made a huge difference. Well rescued. 

Beautiful coat. You must be very happy with it. 

· 1 month ago
DianeH's avatar
DianeH Community Member

Thank you Kim. I am very pleased with the coat. x

· 1 month ago
SewHayleyJane's avatar
SewHayleyJane Admin

Wow! I don't think I ever would have thought of doing that, but it looks so good! It's coming together so beautifully!

· 1 month ago
DianeH's avatar
DianeH Community Member

I saw the technique a while ago on a tailoring video, way before I thought I would need it!

· 1 month ago
Emma S's avatar
Emma S Community Member

Wow that makes all the difference. The coat looks amazing. My dad used to be a rep for tailoring supplies in the 70's & 80's and used to have boxes of sleeve head rolls that I think served this purpose. Well done on using scraps. About to embark on a coat - hope it turns out as well as yours.

· 1 month ago
DianeH's avatar
DianeH Community Member

Thank you. I read that these sleeve headers were available to purchase ready made, but I didn't really have time to get anything ordered as I wanted to get the coat done, so I had to use what I had in my stash, and the video I watched explained how to make your own template and what to use. I think it worked OK and I am happy with the results.

· 1 month ago
DianeH's avatar
DianeH Community Member

Well, I haven't managed to take many photos of this coat progress, and the videos are not really able to show much by taking stills from them, so I'm afraid this is all I can show now.

I thought I would show how I do corners of collars, using a thread to catch the final stitch before turning the corner, then you can pull it to make a sharp point when turned right side out.

I didn't do so well with the vent on this coat (the one on the muslin was much better), but it is OK.

And here is the coat in all its glory.

upload-3298-1767216762-mlsO8mLpkC.jpeg
upload-3298-1767216763-2PQDf2kdW2.jpeg
upload-3298-1767216763-MXvgpUtAFq.jpeg
upload-3298-1767216764-5m0uFeObsY.jpeg
· 1 month ago
SewHayleyJane's avatar
SewHayleyJane Admin

Diane this is so beautiful! The fit looks so good and everything is finished wonderfully! We are always our own worst critic but I think you should be really proud of this!

· 1 month ago
DianeH's avatar
DianeH Community Member

Thank you Hayley. I am so pleased with this coat. I am glad I took the plunge and cut into this fabric. It was probably still cheaper than buying a RTW wool coat!

· 1 month ago
Debbie B's avatar
Debbie B Community Member

Diane, that coat is stunning on you.  Beautiful workmanship.  We'll done.  Enjoy it!

· 1 month ago
DianeH's avatar
DianeH Community Member

Thank you very much Debbie x

· 1 month ago
Glenda H's avatar
Glenda H Community Member

What a great fitting coat. It looks fabulous.  Well done you.

· 3 weeks ago
DianeH's avatar
DianeH Community Member

Thank you Glenda x

· 3 weeks ago

Join the community!

Sewing doesn't have to be solitary.

ThreadySetGo is a vibrant and welcoming space for sewists of all ages and skill levels.

It's completely free to get started!

Verify Your Email

Before being able to interact with the community you must verify your email account so we know you're a real human being!